 We get emails weekly asking us what equipment we use for the photography we do here on Keepin' It Kind. It can take a lot of research and experimentation to figure out what photography set-up works best for you. These are the things we've found (after much trial and error) to work for us. Here's a peek into our studio
 (and/or dining room)!
Canon EOS 5D Mark III
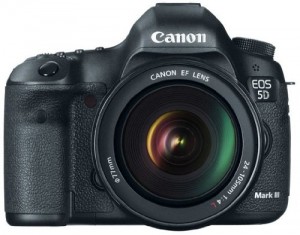 Chris likes this camera because it is better in low-light situations, making the blacks richer. There are also more focus points inside the view-finder, making it easier to pinpoint exactly where you want the focus within the frame.
Canon EF 100mm f/2.8L Macro IS USM Lens
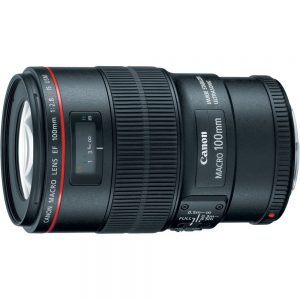 This lens is tack-sharp. It's the best lens that Chris has ever used. It also has great bokeh (background "out-of-focusness," in Chris's words). We use this lens for about 90% of our photography.
Canon EF 24-70mm f/2.8L II USM Standard Zoom Lens
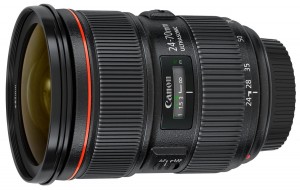 This lens isn't as sharp as the 100mm but the payoff is that you can zoom in and out with it. Because of it's zoom-abilities, this lens is what we use for the majority of our overhead/bird's-eye shots.
Manfrotto 055XPROB Pro Tripod Legs
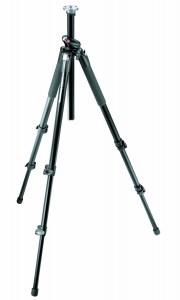 This is one solid and sturdy tripod. There are better ones out there, but this one fit within our budget and does the job well. We shoot 99% of our photography with a tripod because steady hands we have not. A tripod makes for sharper photos, guaranteed. It also helps to be able to leave your camera in one spot and set-up your frame/shot.
Manfrotto MH057M0-Q5 057 Magnesium Ball Head with Q5 Quick Release
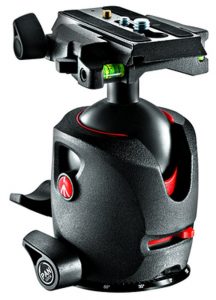 This head allows us to switch quickly from vertical to horizontal shots and it locks really tightly. The last one we had was pretty wobbly and we were constantly stopping to re-tighten the head. It's heavy so it's meant for primarily studio use- you don't want to carry this dude everywhere you go.
Canon RS-80N3 Remote Switch
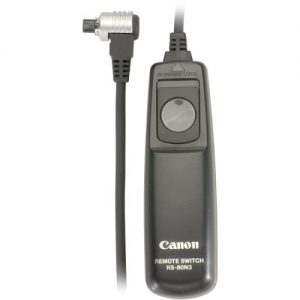 Whenever you hit the shutter button, you are applying pressure to the camera which causes it to move. That movement, even if it's just a little bit, prevents you from having that crisp, clear picture that you want. This remote switch helps you greatly reduce camera shake. From the moment we started using it, our pictures got much, much sharper.
Lowel EGO Digital Imaging, Tabletop Fluorescent Light Unit
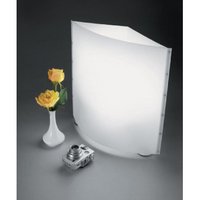 We do a great deal of our photography at night so having a good light set-up is pretty crucial. We started with our kitchen's overhead fluorescent lights and experimented with several lighting set-ups until we finally got it right and we owe it all to this light. It provides a very natural-looking light which closely mimics daylight. We still prefer to use daylight for our photography but when our timing does not permit, this light is a godsend. It also comes with a white reflector board that makes for the perfect bounce (you place it opposite the light source to reflect the light back onto the food, which reduces the harshness of shadows and provides a more evenly lit picture (though, white poster board can do the job just as well).
Neewer 110CM 43-Inch 5-in-1 Collapsible Multi-Disc Light Reflector
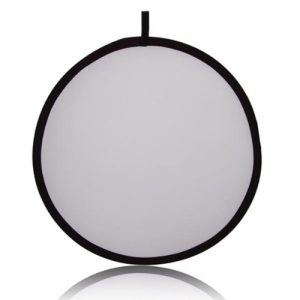 We originally bought this to use in one of our crazy lighting rigs (before Lowel Ego) but now use the translucent screen as a light diffuser. If using natural light, without a diffuser, it can be a little harsh. Sheer curtains would also work, but if that isn't an option, hanging this screen in front of the light source softens the light. We also use it to diffuse the light from the Lowel Ego. I would not recommend using the silver or gold reflective surfaces for food photography (especially not the gold- trust me on this one). See above product for info on bounces.
Matthews 40 Inch Century Stand
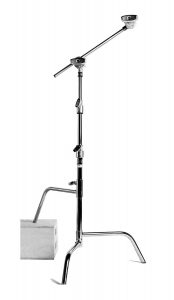 We actually don't have this stand but we wish we did. Currently we MacGyver our diffuser screen (above) up using one of the wobbly stands leftover from one of our former crazy lighting rigs. I don't recommend our current method. At all. If you wish to set up a diffuser screen, Chris recommends this one. It can also be used for hanging backdrops, should you need it.
Clamps
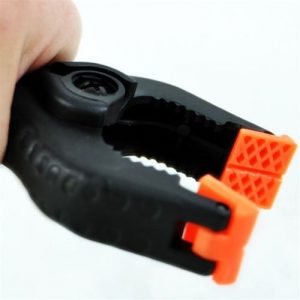 We use these guys to hang our diffuser up to our jerry-rigged C-stand (see above). If you can find heavy-duty metal ones, those work well too.
Heavy-Duty 10 lb Saddle Sandbags
This may seem like a weird thing but they do come in handy. We place one of these on the head portion of the tripod when we're doing overhead/bird's-eye shots. When the tripod arm is extended out with a heavy camera at the end of it, you want to make extra sure that the weight of the camera isn't going make it fall over. The sandbag balances it out and makes the tripod sturdier (which also makes for sharper photos).
Adobe Photoshop Lightroom
This is Chris's favorite photo editing software, hands-down. It's pretty straightforward but you can find plenty of help online. According to Chris, it's an absolute must and a fantastic investment. If you're on a budget, they do offer a plan where you can use it for $9.99 per month, but I don't know the details on that. This page contains affiliate links.