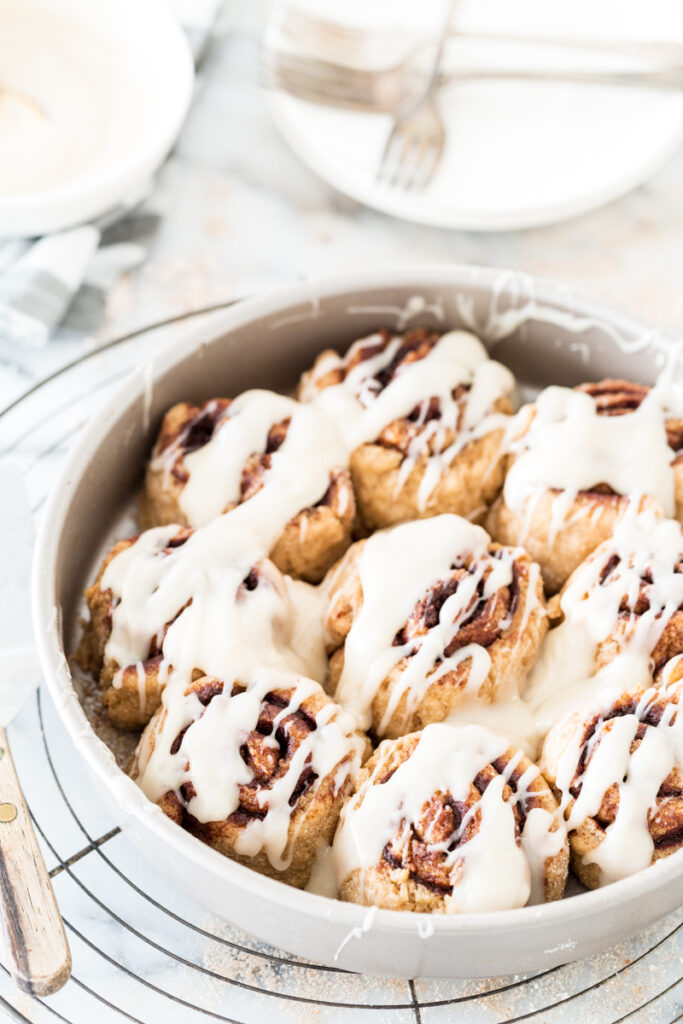
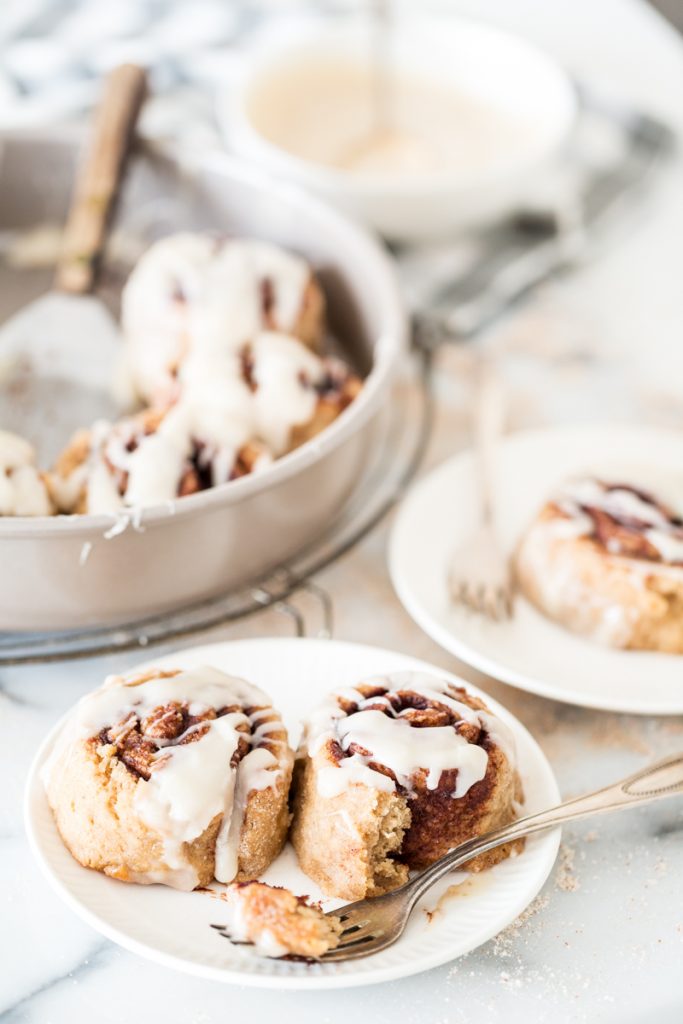
I wish I could put this recipe for Gluten-Free Vegan Cinnamon Rolls down as a Christmas Miracle but that would signify that this recipe just happened suddenly, miraculously, on its own. But that's not how this went down at all.
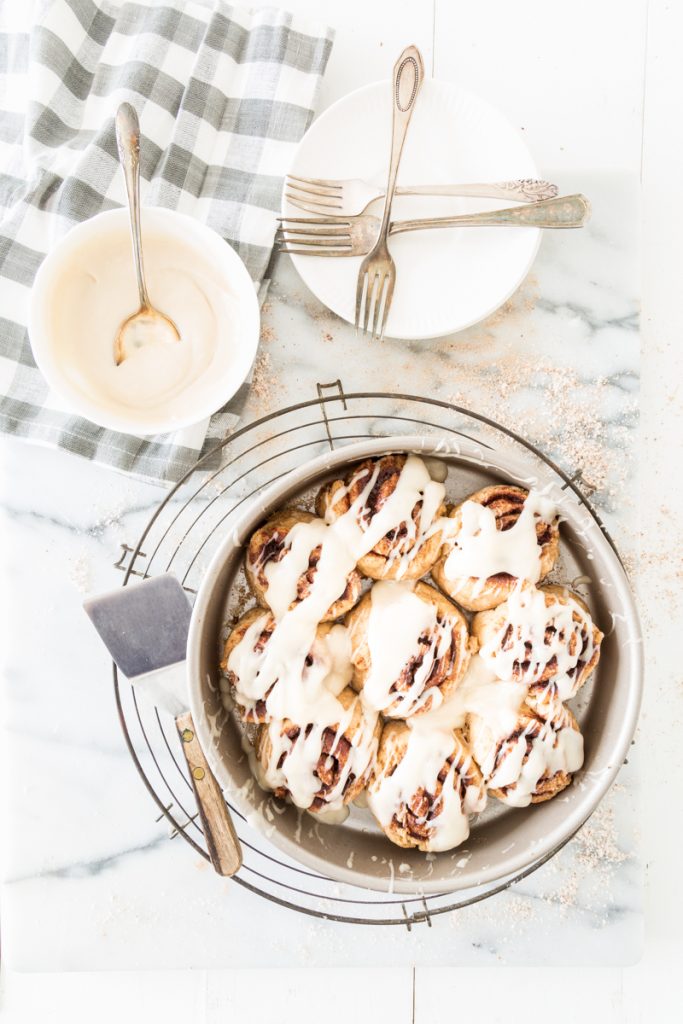
In actuality, I've tested this recipe, tweaking it each time, no less than 25 times. I lost count after working on it for a year. I've probably tested this recipe more than any other recipe I've ever created. That's why this day, being able to share this recipe with you, is so exciting an meaningful for me.
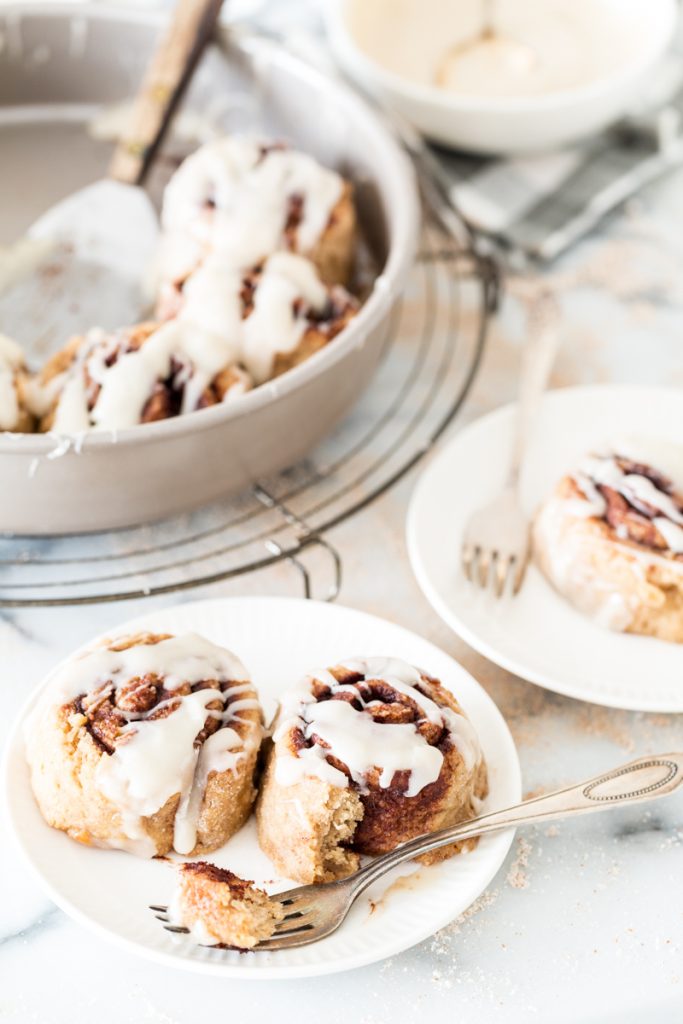
I'm going to say this right now: If you and your loved ones have no problem eating gluten, then screw you you should absolutely make gluten-full cinnamon rolls. I have a wonderful recipe in my first book for Pecan Date Cinnamon Rolls and I even have a recipe for Pumpkin Cinnamon Rolls here on the blog. If you're looking for a more traditional cinnamon roll, use the dough recipe for the pumpkin cinnamon rolls and substitute the filling for the filling used in these rolls and the glaze for the cream cheese icing here. Gluten-free dough is a bit more finicky (and requires a few more ingredients) and if you can get away with eating gluten, then you should absolutely do so. But if you can't, then these beauties are the perfect replacement.
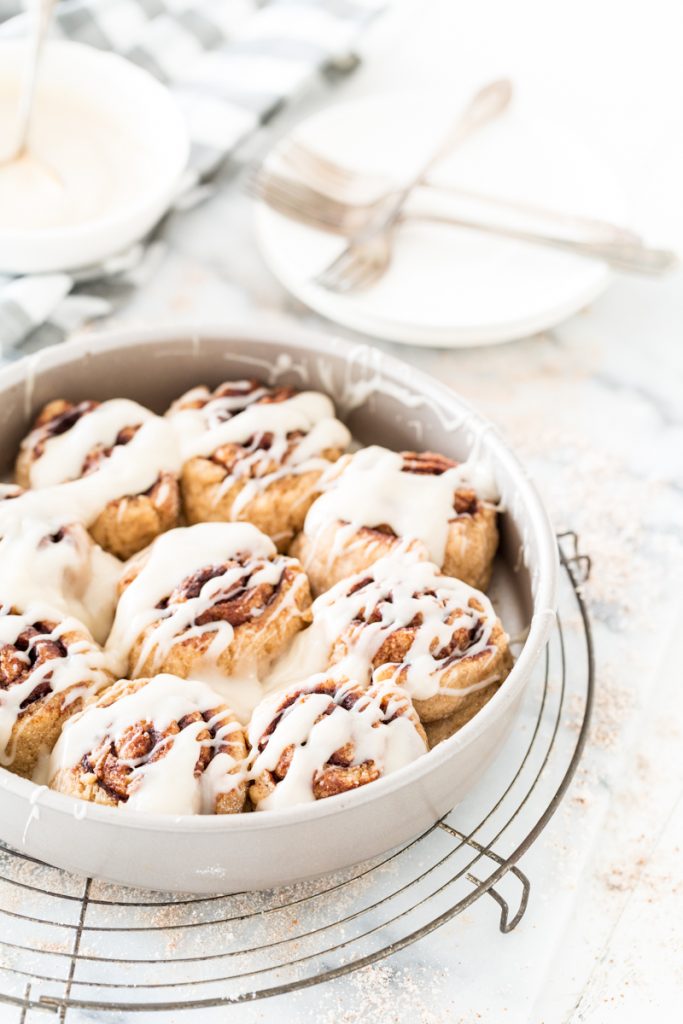
For my fellow compadres who can't do gluten, then this recipe is for you. Before baking, please read these tips:
FORGET EVERYTHING YOU KNOW ABOUT WORKING WITH DOUGH. If you're used to working with beautiful, stretchy, pliable gluten-full dough, then you're in for a surprise when working with gluten-free dough. For one thing, when you're first making the dough, stirring in flour bit by bit, you're not going to add flour until you have a soft, pliable, non-sticky ball of dough. If you do that, the dough will not rise as much and will provide you with Stiff Little Rolls (SLRs). You want to add flour just until a ball starts to form but it's still mushy and sticky. The dry ingredient mix for this recipe is just over 3 cups (3 cups plus a few teaspoons of other ingredients) and I usually only end up needing to use 2 1/2 cups plus 2 to 3 tablespoons. Then, after the dough has risen, you still need to be careful with how much you work the dough before rolling it out. You'll want to coat the ball in flour (I just use what I didn't add to the dough initially) and then flatten it out and fold it over on itself about 3 to 4 times, each time gently coating the ball in flour. If you overwork the dough at this stage, you're going to be looking at SLRs. After you've rolled the dough out (while it's covered with plastic wrap), you're probably going to want to use a dough scraper or spatula to help you with rolling the dough because it may stick in places. I always roll a little bit, gently but quickly scrape the next section, and roll a little bit more. If the dough breaks or tears, don't fret. Use your fingers to gently "smoosh" it back together and keep on going.
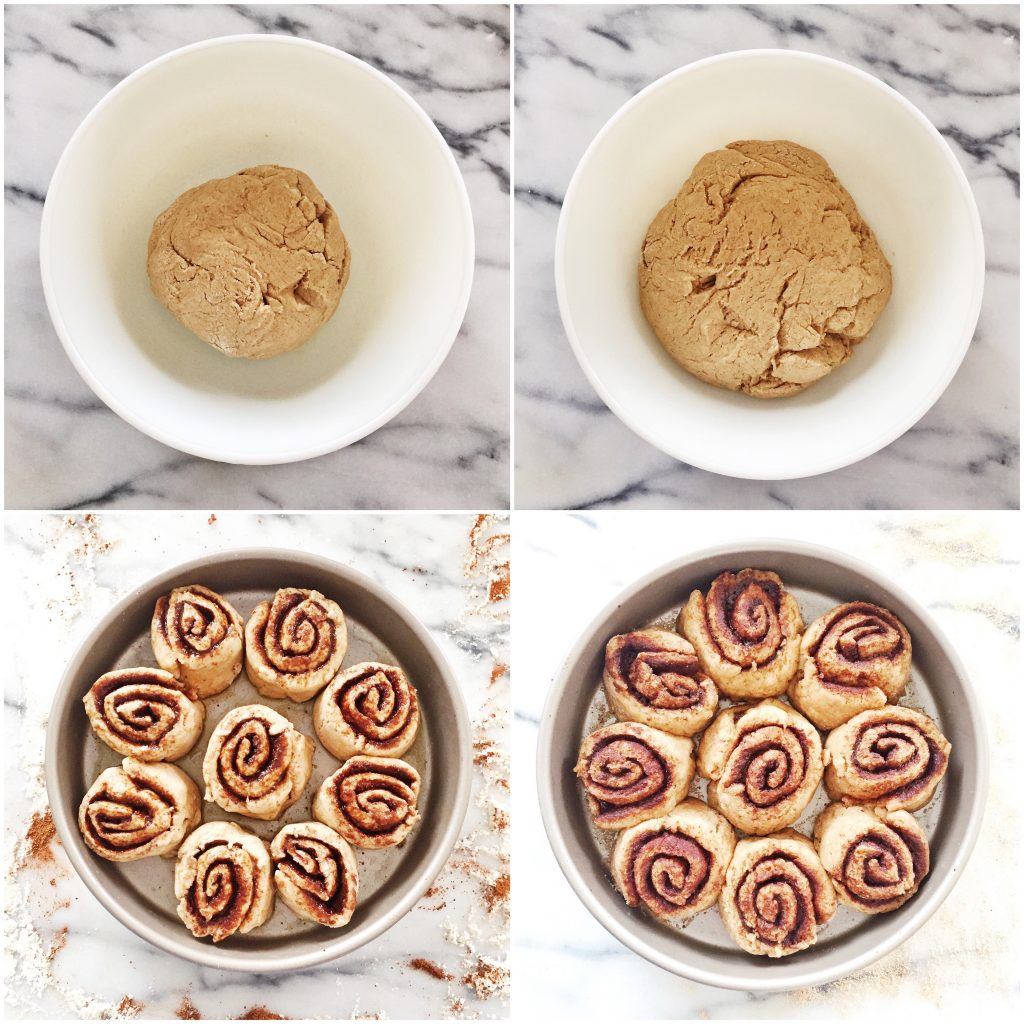
Below, left to right: First Row- the dough before rising, the dough after rising. Bottom Row- the rolls after rising for 15 minutes (before baking), the rolls after baking.
GET TO KNOW YOUR GUMS. I don't mean that in a dentist-y sort of way. The first 20 or so times I tested this recipe, I used xanthan gum as the binder/gluten-replacement. Actually, The first 20 times-ish, I used a store-bought gluten-free flour mix that contained xanthan gum. Those rolls were okay but the taste and texture weren't quite right. So I decided to do a mix of flours. Earlier this year, moths infested my flour/grain cabinet and I had to throw out almost ever flour and grain I had on hand and by new moth-proof jars. During that ordeal, I had to throw out my xanthan gum but I'd never re-stocked it. So I found myself, creating my own mix of flours for this recipe and when I went to add xanthan gum, I cursed the moths again once I realized what I'd done. So I reached for the guar gum, fingers crossed that this whole batch wasn't going to be a waste. And you know what happened? My rolls spread like nobody's business and they looked amazing. This is when my luck began to change. My only problem with this batch was that the dough was a little spongey and while the dough spread, they stayed flatter that I would've liked. On the next trial, I tried the same flour mix with xanthan gum and I was back to SLRs. So I tried less xanthan gum. Still, I was not happy. It wasn't until I created a mix of guar gum and xanthan gum that I got results I was happy with. The guar gum lets the dough expand while the xanthan gum keeps them from flattening out or collapsing. After a few tries, I found that 1 teaspoon of guar gum and a SCANT 1/2 teaspoon of xanthan gum was exactly what the doctor ordered. And I have the moths to thank for this discovery.
SAY GOOD-BYE TO STORE-BOUGHT GF FLOUR MIXES. At least for this recipe. I actually use them a lot for my cookies and other various things. But this recipe really needs a specific set of flours: Brown Rice Flour, Sweet White Rice Flour, Sorghum Flour, Almond Flour, Arrowroot Powder/Starch, and Potato Starch (not Potato Flour). If you can't find Sweet White Rice Flour, Stone-Ground White Rice Flour will work instead but I prefer the flavor and texture of the Sweet WRF. I've tried using Tapioca Starch in place of the Arrowroot Powder and actually found that the Arrowroot provides better stability. I also throw in baking powder for back-up rising power. It's also important to note that when you're measuring the flours out, that you use a spoon to add the flour to the measuring cup and gently level it off. Scooping the flour with the measuring cup will result in too much flour and thus SLRs.
LET YOUR YEAST FULLY ACTIVATE! I like to use a 2-cup measuring cup, heat the milk for 40-45 seconds in the microwave, and then use a candy thermometer to make sure the temperature is at 110° F. Then I add the coconut sugar and then the yeast. Then I gently stir it together with the thermometer. Then I let it activate (and by "activate," I mean bubble up and foaming like a mad-science experiment) until it starts rising over the top of the measuring cup. When it's been about 10 minutes or so and it looks like it's about to overflow, it's ready to add to the mixing bowl.
Unfortunately, this isn't one of those "30 minute" recipes. This recipe needs some time. You're going to need to give the dough about 60 minutes to rise. Not only is this when the yeast is making the dough rise, it's also giving time for the gums to start doing their magic as well. Then they need about 10-15 minutes from the time they've been sliced into rolls and put in the pan before they go in the oven. Now that I have the recipe down, I will do more tests with shorter rising times. I'm hoping I can do a 30 minute rise for the dough and then 30 minutes for the rolls to rise/expand, but we'll see. I'm also planning on testing out if any part of the process can be done the night before. I will post updates as the testing goes on. If you try anything that works, please post about it in the comments!
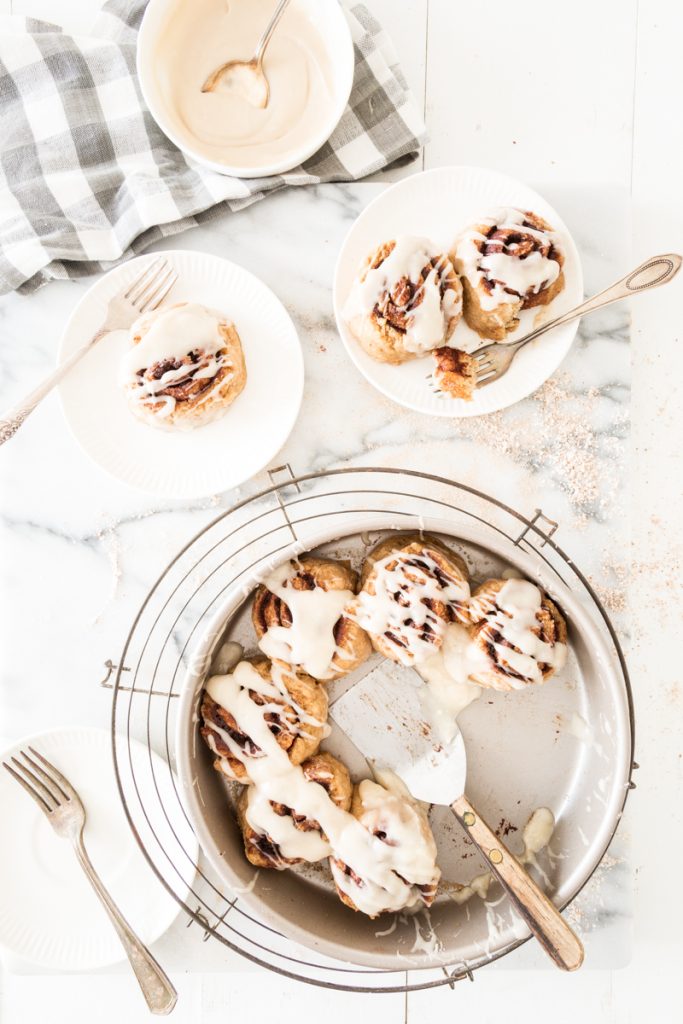
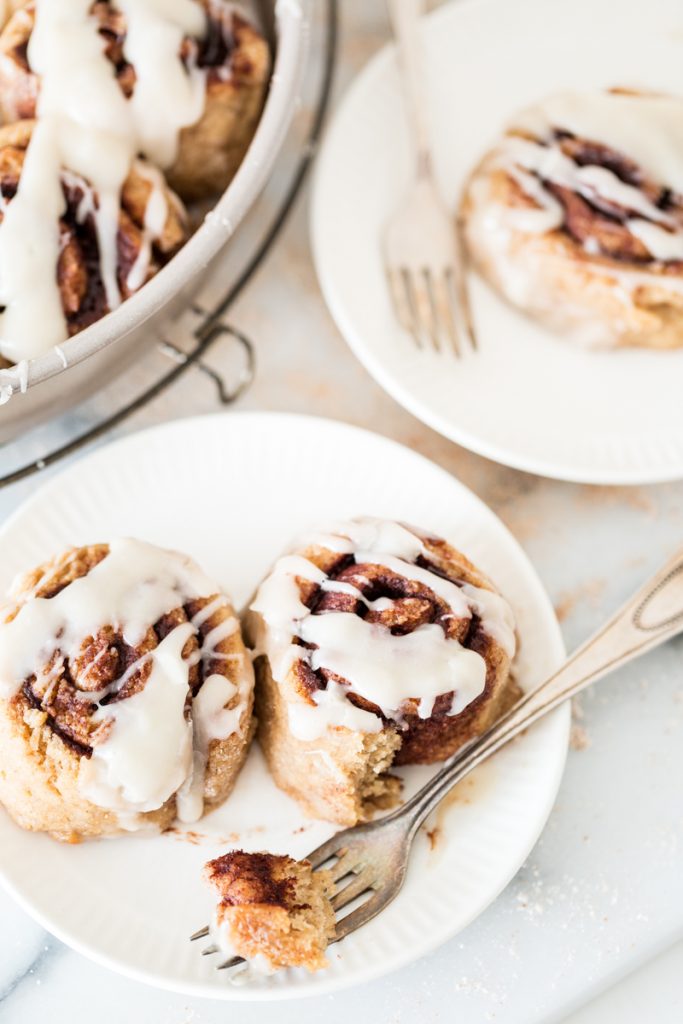
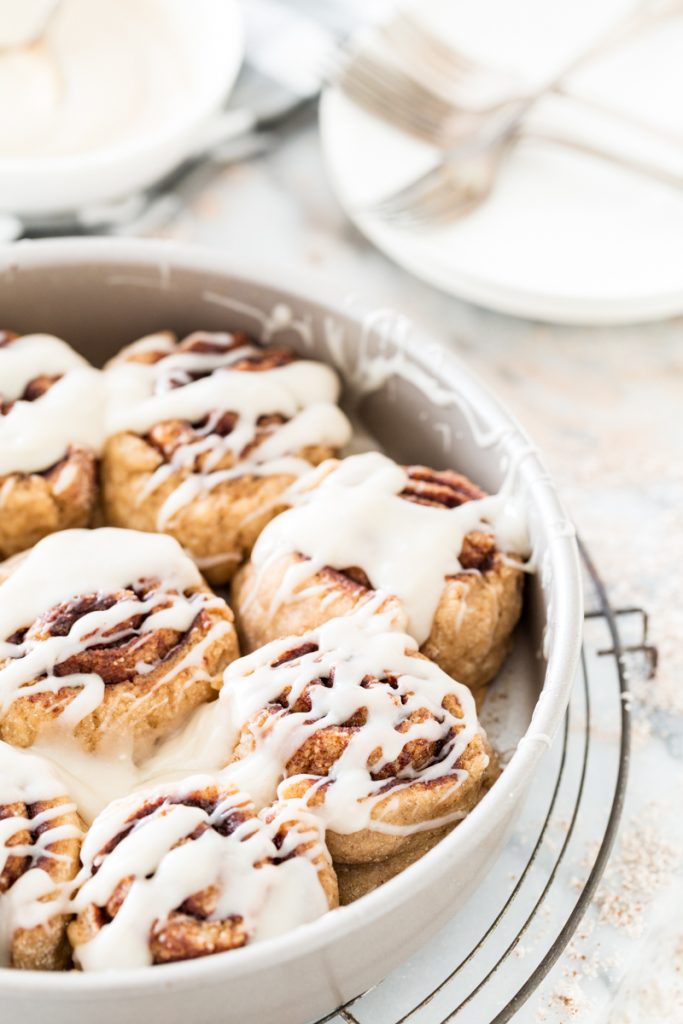
With this, I bid you adieu and wish you good luck in your gluten-free vegan cinnamon roll adventures. May your brunches be full of these warm, soft, doughy, cinnamony-sugary rolls and doused in cream-cheesey icing goodness. Happy holidays!
Ingredients
- 2/3 cup non-dairy milk
- 3 tablespoons coconut sugar
- 1 tablespoon active dry yeast
- 1/3 cup aquafaba
- ¼ cup vegan butter or coconut oil, melted
- ½ cup brown rice flour
- ½ cup sweet white rice flour
- ½ cup sorghum flour
- ½ cup almond flour
- ½ cup arrowroot powder
- ½ cup potato starch
- 1 teaspoon guar gum
- 1 teaspoon pumpkin pie spice, optional
- 1 teaspoon baking powder
- SCANT ½ teaspoon xanthan gum
- ½ teaspoon salt
- 1/3 cup coconut sugar
- 2½ tablespoons cinnamon
- ¼ cup vegan butter or coconut oil, melted
- 1 cup powdered sugar
- ¼ cup vegan cream cheese (I used Kite Hill)
- 1 tablespoon non-dairy milk (vanilla-flavored if you have it)
- 1 tablespoon melted coconut oil
Instructions
- Pour the milk into a medium bowl or a 2-cup measuring cup. Heat in the microwave for 40 seconds or until the temperature of the milk reaches 110° F. Add the coconut sugar and the yeast and stir until combined. Let rise for 10 minutes or until the foam stops rising and expanding.
- Combine the aquafaba and melted butter (or coconut oil) in a large bowl and set aside.
- While the yeast is activating, combine the dry ingredients in a large bowl and whisk until fully combined.
- Once the yeast is done activating, pour the mixture into the large bowl with the aquafaba and butter (or oil). Gently whisk together until combined. Pour 1 cup of the dry ingredients into the bowl with the wet ingredients and stir until combined. Add 1/2 cup of the dry ingredients and stir until combined. Repeat 2 more times, until you've added 2 1/2 cups of the dry ingredients. Add 1 tablespoon of the dry ingredients at a time until the dough is a moist, sticky ball that's just beginning to hold together. If it gets to stiff or dry, add milk by the tablespoon until you have the sticky ball you need. Dump the rest of the leftover dry ingredients into a small bowl, set aside, and spray the large bowl (that once held the dry ingredients) with oil or rub with melted butter. Transfer the ball of dough to that bowl and cover the bowl with plastic wrap. Place on top of the stove and preheat the oven to 250-300° F. Let the dough rise for 1 hour. Turn the oven off after 60 minutes.
- In a small bowl, stir together the coconut sugar and cinnamon. Set aside. Spray a round cake pan or a square 8x8 baking dish with vegan oil or cooking spray. Set aside.
- Lightly flour a smooth surface with the some of the leftover dry ingredients. Place the ball of dough on the surface and gently roll around in the flour until it is lightly coated. Flatten the dough out a bit and then fold over on top of itself. Repeat about 2 to 3 more times.
- Make sure the surface is lightly floured again (adding more if necessary). Flatten the dough out and then place a sheet of plastic wrap over it (I usually use the same one that was covering the bowl while the dough rose). Use a rolling pin the roll the dough out into a 12 x14-15 inch rectangle. Don't roll the dough too thin. Use a pastry brush to brush about half of the melted butter (or coconut oil) onto the dough. Use a spoon to sprinkle the cinnamon sugar onto the dough. Begin rolling the long edge closest to you over the cinnamon sugar filling, pausing the to scrape the dough with a dough scraper or spatula as needed, until the dough is completely rolled into a log shape. Use a very sharp knife or the dough scraper (do not use a spatula or serrated knife) to cut the log into 9 to 10 slices. Gently transfer the slices to the prepared baking dish and cover with the sheet of plastic wrap. Place on top of the stove and preheat the oven to 350° F. Let the rolls set for at least 10 minutes before removing the plastic wrap and brushing the remaining melted butter or coconut oil on to the tops of the rolls. Place the pan in the oven and bake for 20 to 22 minutes or until firm. Remove from the oven and let rest for about 5 minutes.
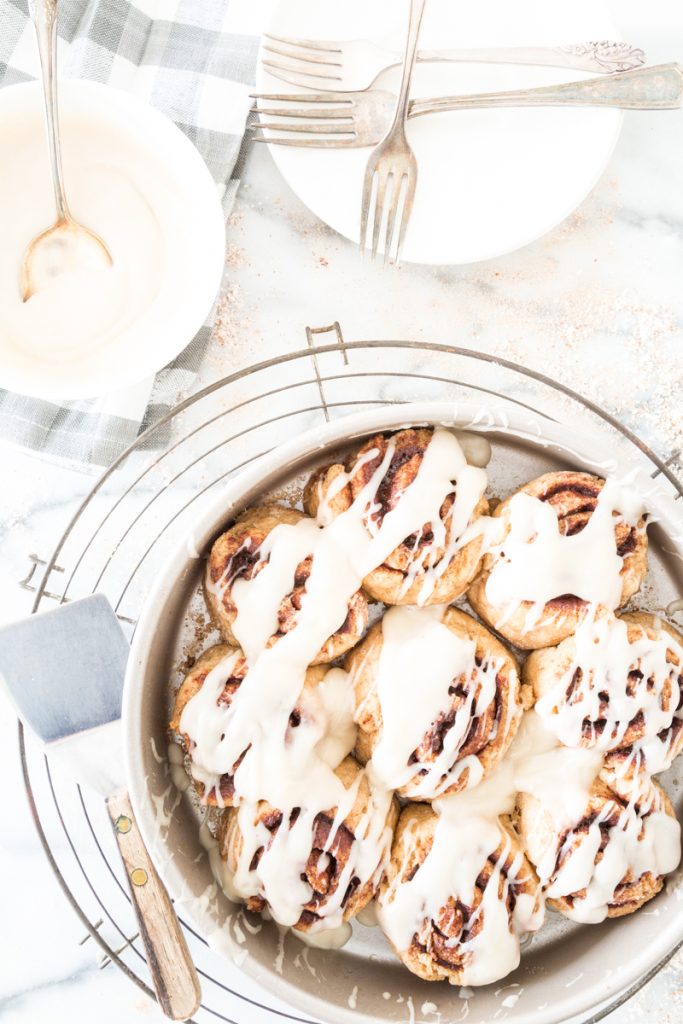
- While the dough is resting, combine the icing ingredients in a medium bowl use a hand mixer with a whisk attachment or just use a whisk and your muscles, to mix the icing ingredients until smooth and lump-free. You can drizzle the icing on top of the rolls or use a rubber spatula to spread it on to the tops of each roll. Your choice. Serve immediately. Enjoy!
- They're best eaten the day they're baked but if you don't get to them all, you can store them in an airtight container on the counter (at room temp) for one day. You may want to loosen the lid and reheat in the microwave for 15 to 30 seconds.
Notes
When measuring out the flour, be sure to use the method of spooning the flour into the measuring cup and leveling off rather than scooping with the measuring cup. Scooping will give you too much flour and thus stiffer rolls.
What do you have planned for your holiday brunch(es)?
Photography by Chris Miller

Karlie
Oh my gosh! My family has a Christmas morning cinnamon roll tradition that I haven't been a part of since being diagnosed Celiac (uhh in 2010..) i have tried a few recipes and failed, quite miserably. So this makes me SO EXCITED! thank you <3
Casey the College Celiac
I LOVE the idea of adding pumpkin spice to the mix! And isn't it amazing how the best kitchen discoveries can emerge from the most unexpected circumstances?
Crystal
Try cassava flour instead of arrowroot or tapioca...
Kristy
Is the 1/2 c brown rice flour supposed to also be included?
Sara
Omg looks Devine can't wait to try it you wrote rice flour twice first as part of the coconut oil ? And then part of the dry ingridiants ?
keepinitkind
Thanks for pointing out the typo! I've fixed it now. It's 1/2 cup brown rice flour and 1/2 cup sweet white rice flour, both in the dry ingredients.
Amara
What can be substituted for almond flour. concerned about folks with tree nut allergies
keepinitkind
I haven't tried it with other flours so I cannot say.
Tracy
Hi Kristy,
I can't thank you enough for this recipe ... I've been celiac for about 5 years now, one of the baked goods I've missed is a good, no a GREAT cinnamon bun ... You're recipe delivers all that I've been missing! Thank You SO much for sharing your creations.
Tracy
Kristen Myers
What can I substitute for almond flour? We have a nut allergy.
keepinitkind
Hi Kristen, I wish I could help. I spent months testing this recipe to get the right flour combination/ratio. I honestly cannot reccomend any replacement because I haven't found any combination of flours that works better than this combination. I apologize for the inconvenience. Thanks!